Virtual Makeup: Lipstick Effect using OpenCV and Dlib
In this post we will learn how to apply lipstick color using OpenCV and Dlib.
In this post we will walk through the solution to apply lipstick on lips.
We are using dlib to detect the face and extract facial landmark. We will use OpenCV capabilities to do image processing.
These are the steps needed
- Image with face
- Detect face on the image
- Find lips landmark using dlib.
- Create a mask for the lips
- Apply alpha blending mask and original image For eg: I = aF + (1-a)B
- Display image with applied lipstick
Step 1. Image with faces
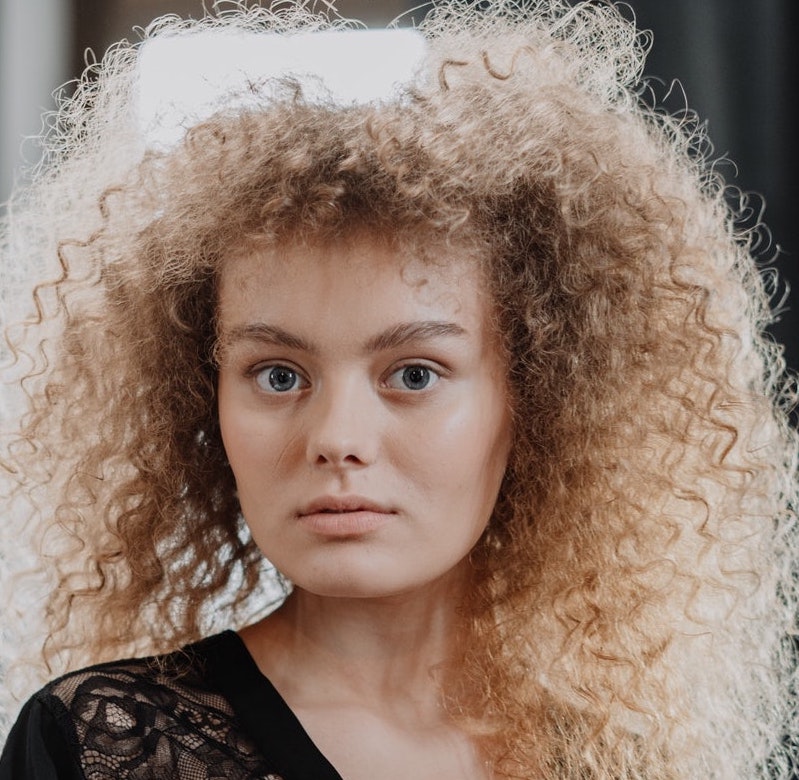
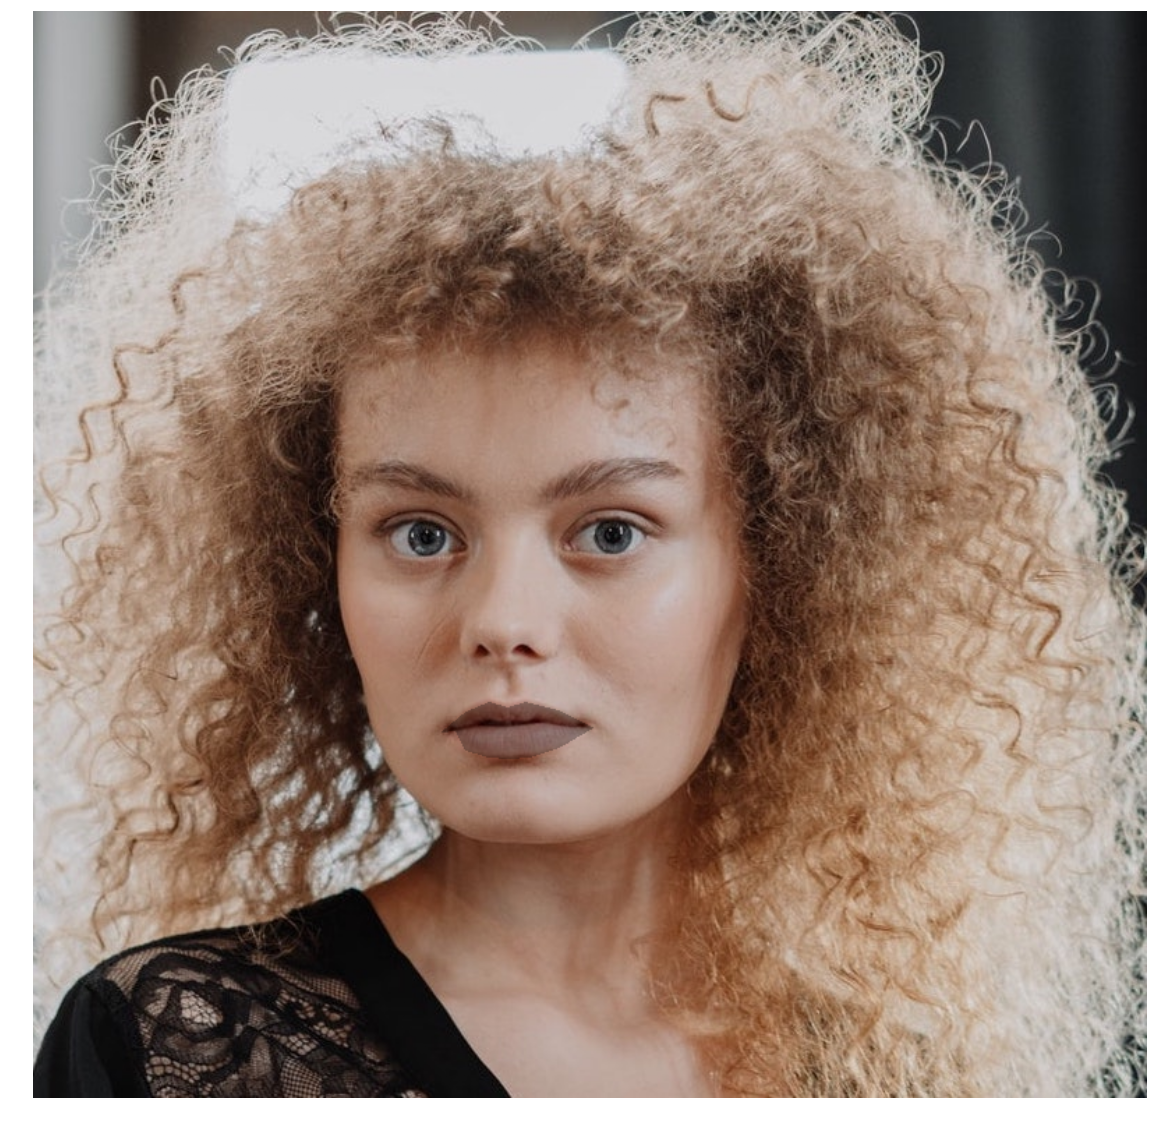
We will use this image to apply lipstick color on lips
Step 2. Detect face on the image
To detect faces we use dlib library
dlib provide this method dlib.get_frontal_face_detector() to detect the face and to detect landmarks we will use dlib.shape_predictor("shape_predictor_68_face_landmarks.dat")
To get the landmarks point, we can use this method to extract landmarks from face.
def getLandmarks(faceDetector, landmarkDetector, im, FACE_DOWNSAMPLE_RATIO = 1):
  points = []
  imSmall = cv2.resize(im,None,
                       fx=1.0/FACE_DOWNSAMPLE_RATIO,
                       fy=1.0/FACE_DOWNSAMPLE_RATIO,
                       interpolation = cv2.INTER_LINEAR)

  faceRects = faceDetector(imSmall, 0)

  if len(faceRects) > 0:
    maxArea = 0
    maxRect = None
    # TODO: test on images with multiple faces
    for face in faceRects:
      if face.area() > maxArea:
        maxArea = face.area()
        maxRect = [face.left(),
                   face.top(),
                   face.right(),
                   face.bottom()
                  ]

    rect = dlib.rectangle(*maxRect)
    scaledRect = dlib.rectangle(int(rect.left()*FACE_DOWNSAMPLE_RATIO),
                             int(rect.top()*FACE_DOWNSAMPLE_RATIO),
                             int(rect.right()*FACE_DOWNSAMPLE_RATIO),
                             int(rect.bottom()*FACE_DOWNSAMPLE_RATIO))

    landmarks = landmarkDetector(im, scaledRect)
    points = dlibLandmarksToPoints(landmarks)
  return points
As we can see in this method first we are resizing the image and using faceDetector to find faces on image.
Once we found faces, we search landmarks using landmarkDetector. and then converting landmarks to points.
Step 3: Find lips landmark using dlib.
Indices 48 to 67 in points represent outer and inner contours of the lips.
lipsContours = points[48:68]
Step 4: Create a mask for the lips
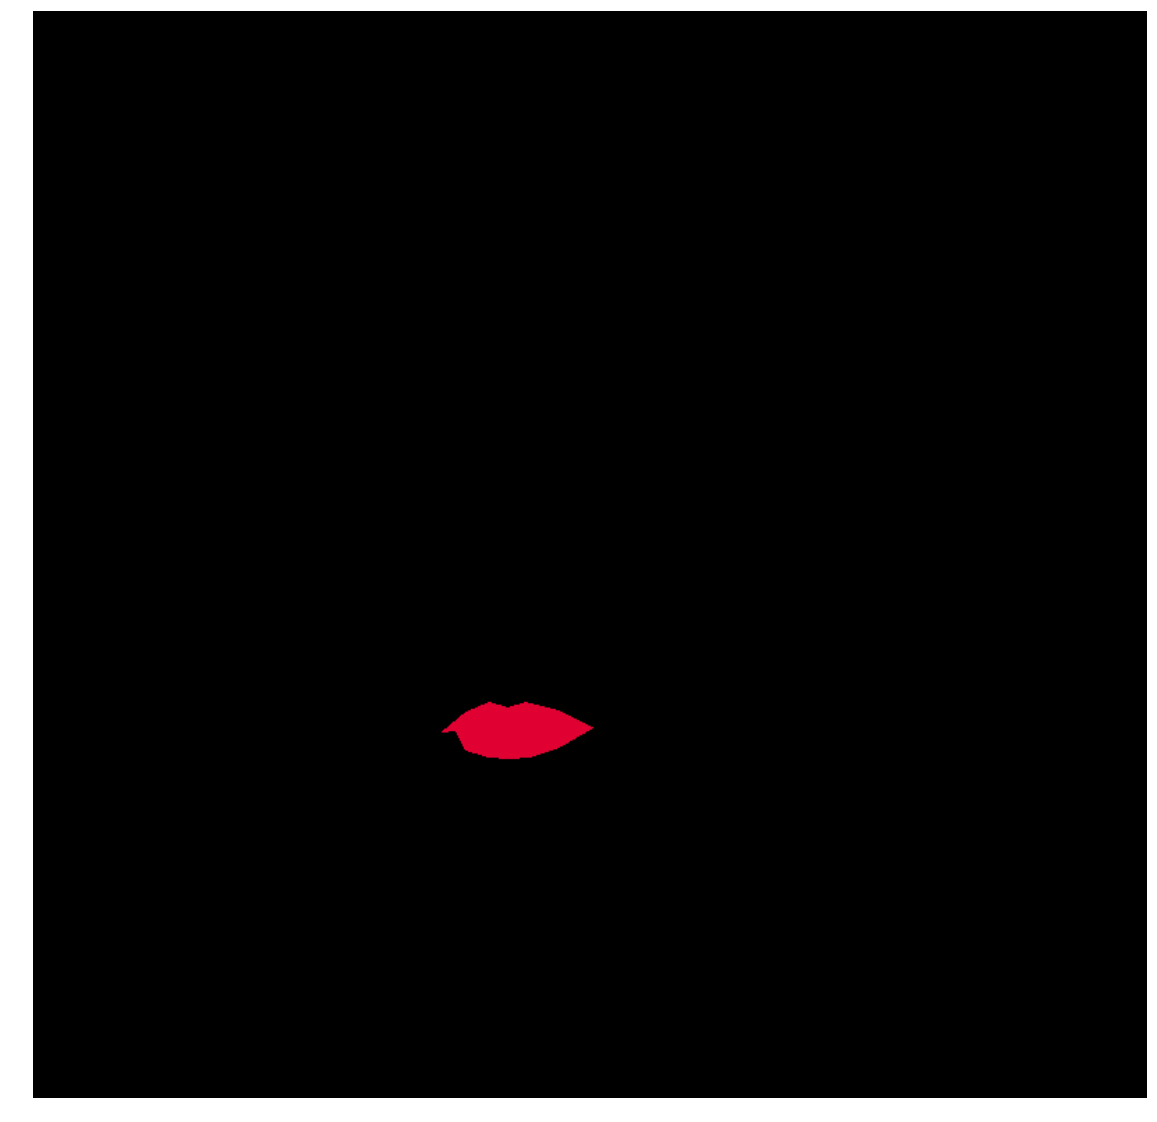
To create mask we need to create blank matrix with zeros. Then we need to fill the lips region with the lipstick color, to fill the color on lips region we will use cv2.fillPoly().
lipstick_color = (225, 0, 50)
mask = np.zeros(imDlib.shape, dtype=imDlib.dtype)
featurePoints = np.array(lipsContours, dtype=np.int32)
cv2.fillPoly(mask, [featurePoints], lipstick_color)
Step 5: Apply alpha blend
Once we prepared mask then we just need to apply alpha blending by using this equation
I = α⋅F+(1−α)⋅B
α is the alpha
F is the foreground
B is the background
Create alpha mask using mask
alphaMask = cv2.cvtColor(mask, cv2.COLOR_RGB2GRAY)
alphaMask = cv2.merge((alphaMask, alphaMask, alphaMask))
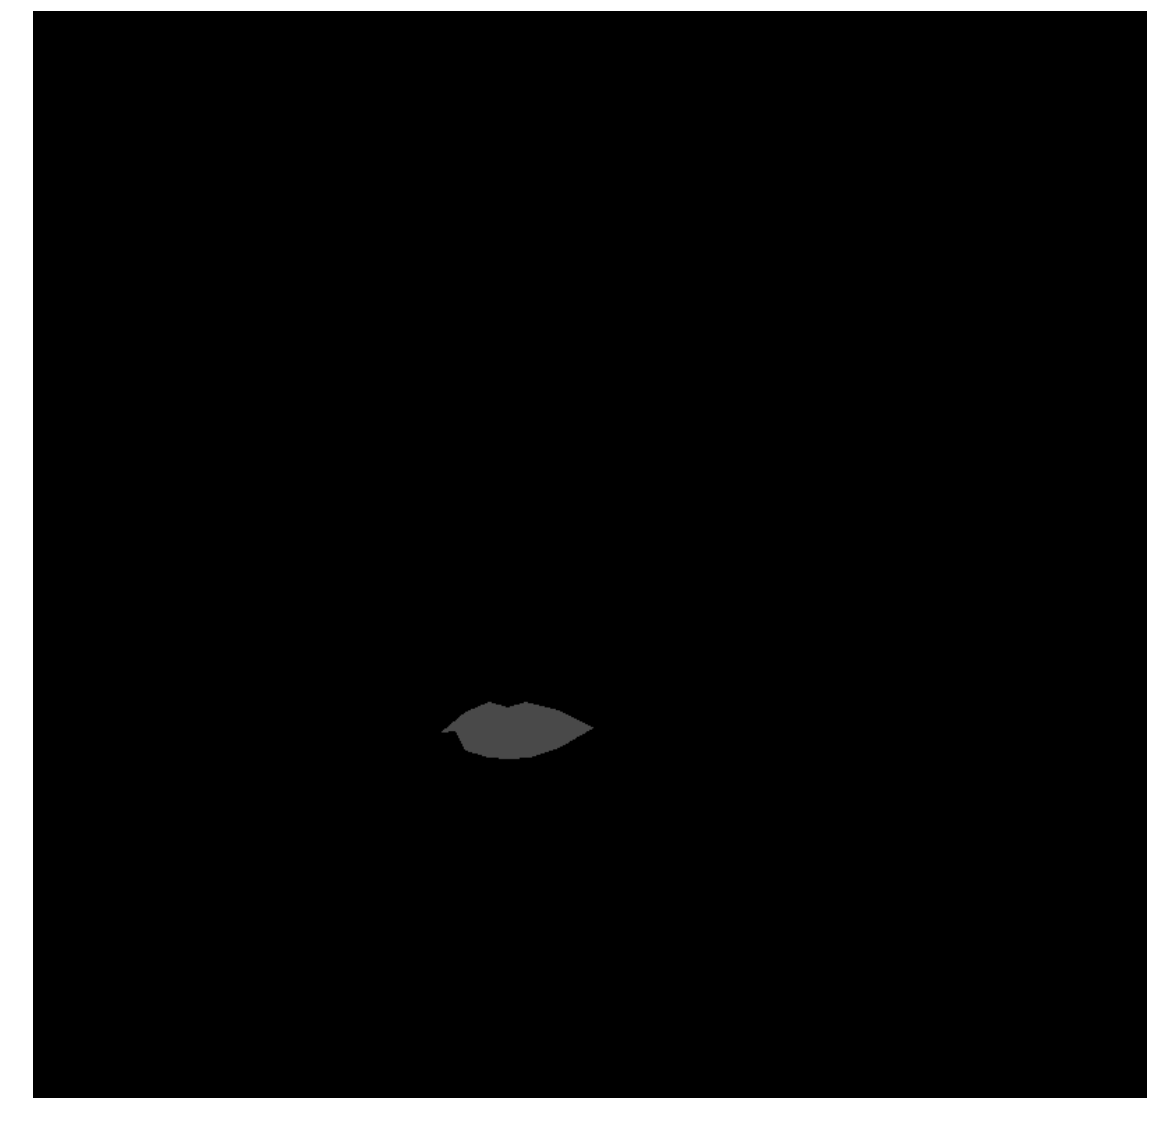
α is the alphaMask
foreground we will use as mask,
background we will use as original image imDlib
alpha = np.float32(alphaMask) / 255.0
fore = np.float32(mask) / 255.0
back = np.float32(imDlib) / 255.0
we normalize all the matrix values range 0 to 1 and the apply the equation
outImage = alpha * fore + (1 - alpha) * back
To be consider here when alpha is 0 means it’s transparent and if it’s 1 then it’s full visible
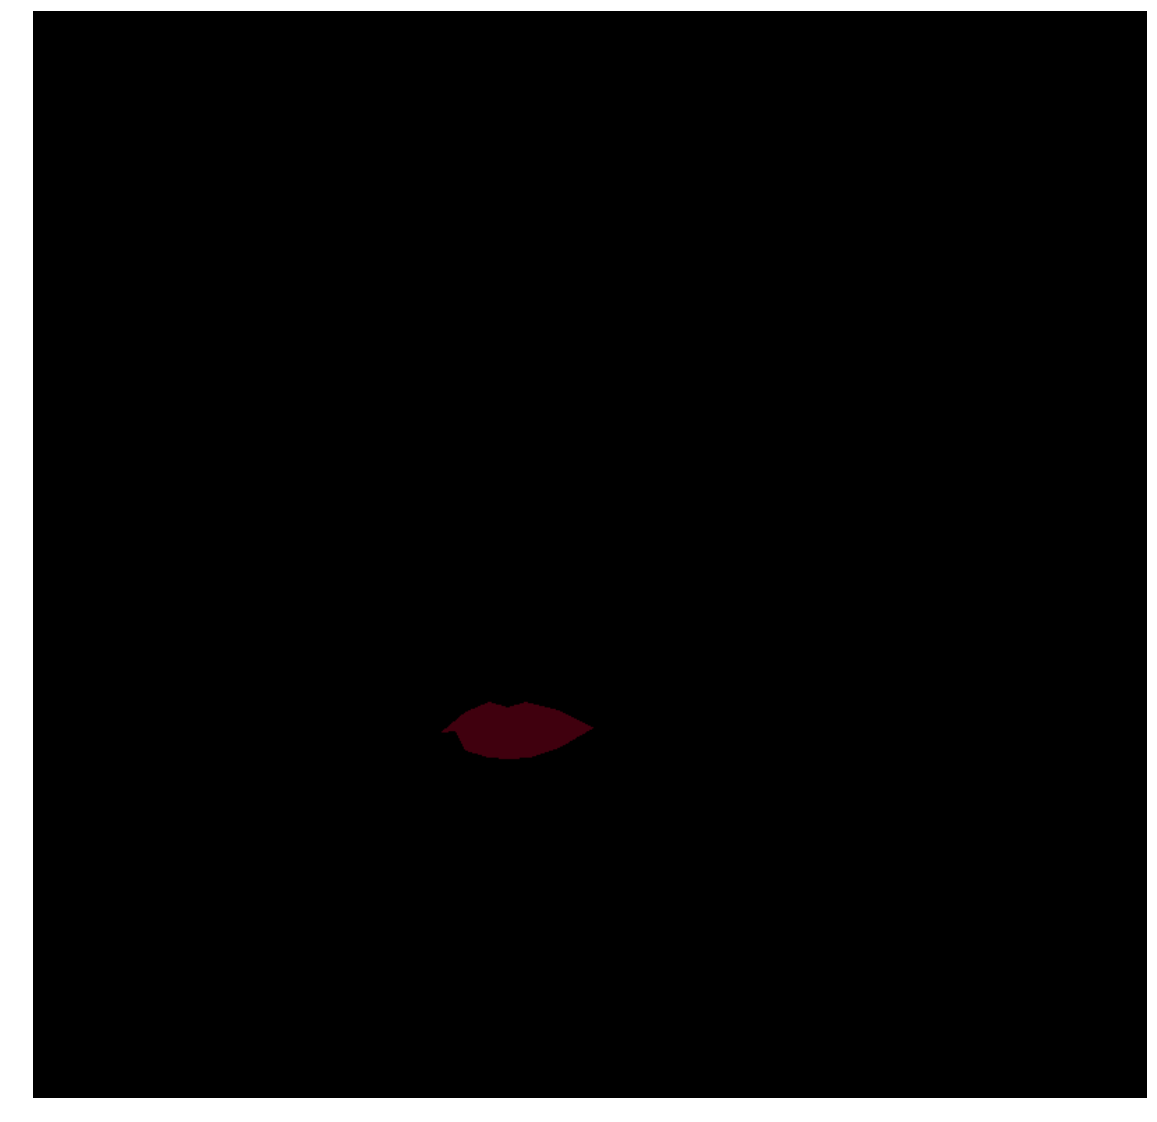
alpha * fore
Multiplication of alpha and foreground will give the applied lipstick color along with alpha visibility on lips region
and this part will give the whole image but without lips region, as we can see we are subtracting alpha with 1, it’s mean we are reversing the alphaMask
(1 - alpha) * back
so once we add both part we will get the correct result which we want to achieve.
Step 6: Displaying Image
Here we can see imDlib is the original image and applied lipstick outImage
plt.imshow(outImage)
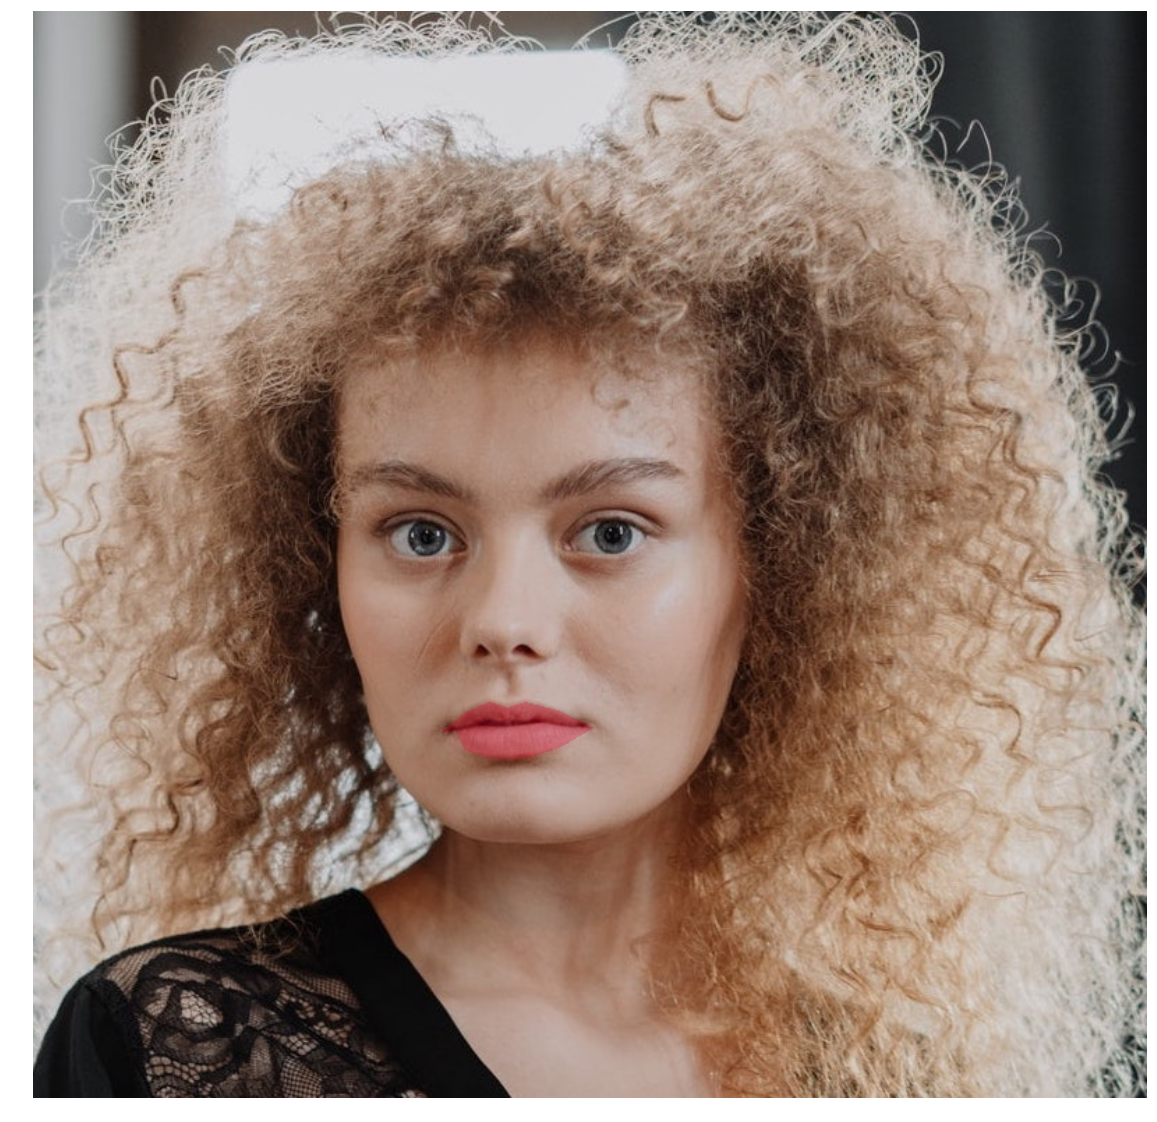
as we have seen with simple image processing we can get this Lipstick Effect on any face.
This is the complete code
# Apply Lipstick

# Get the landmarks of the lips
featurePoints = points[48:68]

# Create a mask for the lips
lipstick_color = (225,0,50)
mask = np.zeros(imDlib.shape,dtype=imDlib.dtype)
featurePoints = np.array(featurePoints, dtype = np.int32)
cv2.fillPoly(mask,[featurePoints],lipstick_color)

alphaMask = cv2.cvtColor(mask, cv2.COLOR_RGB2GRAY)
alphaMask = cv2.merge((alphaMask, alphaMask, alphaMask))

alpha = np.float32(alphaMask) /255.0
fore = np.float32(mask) / 255.0
back = np.float32(imDlib) / 255.0

# Apply alpha blending I = a*F + (1-a)*B
alphaFore = alpha*fore
alphaBack = (1 - alpha)*back
outImage = alphaFore + alphaBack

plt.figure(figsize=(20,20))
plt.subplot(121)
plt.imshow(imDlib)
plt.title("Original")

plt.subplot(122)
plt.imshow(outImage)
plt.title("Applied Lipstick")
References:
